Finally good news that SOA Suite 10.1.3.5.1 is available which:
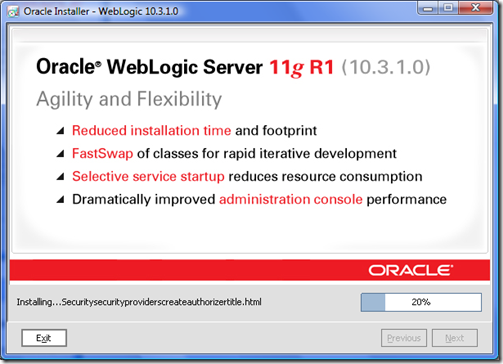
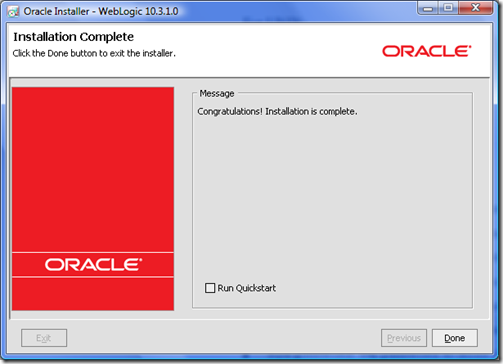
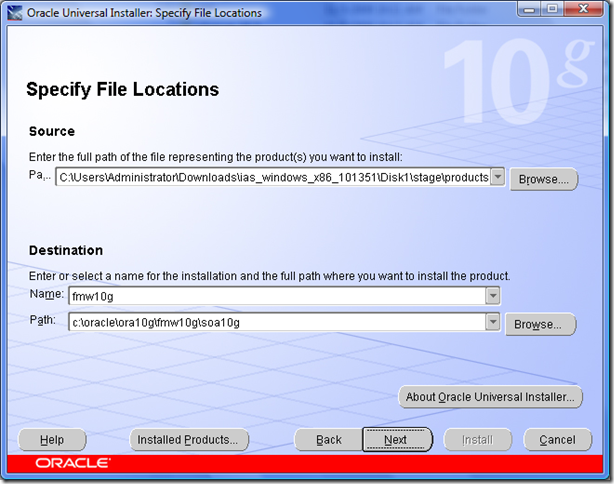
- Runs on Weblogic 10.3.1
- Full install so no need to go base install and then patch and then MLR, one install has it all
- Install Weblogic
- Create schema using IRCA (not GUI based yet, so still the same command line interface of 10g)
- Install SOA Suite
- Configure SOA Suite and then
- Post configuration steps.
Step 1: Weblogic Server Installation
Click on setup
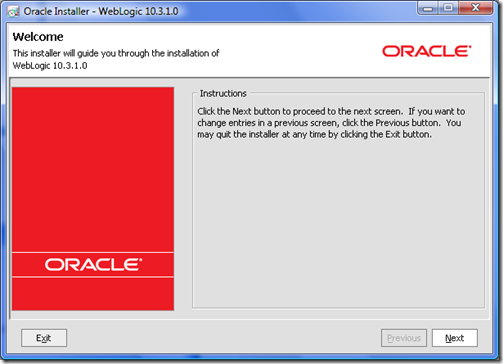
- On welcome screen, click Next

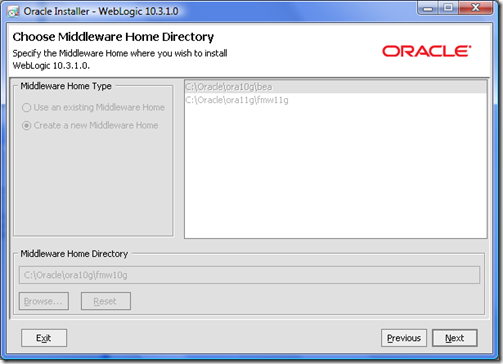
- Create new BEA home and click next.

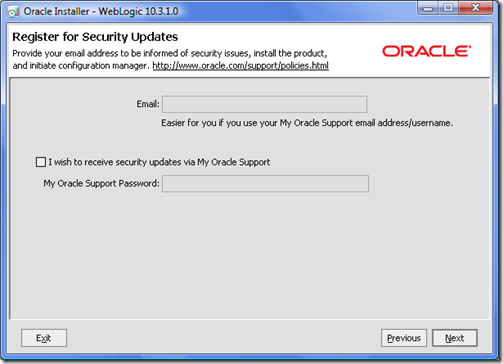
- For some reason, my id didn’t work so choose to skip this step and click next

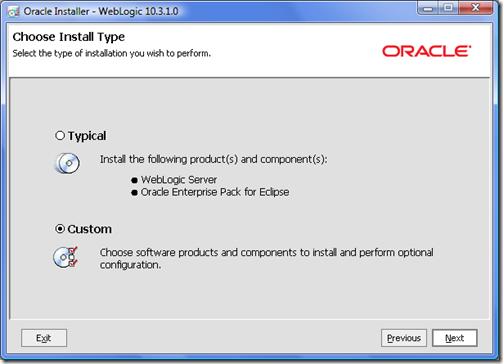
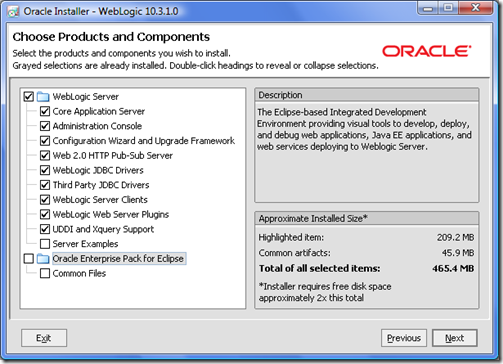
- Choose “custom” option as we don’t want to install eclipse as well as server examples


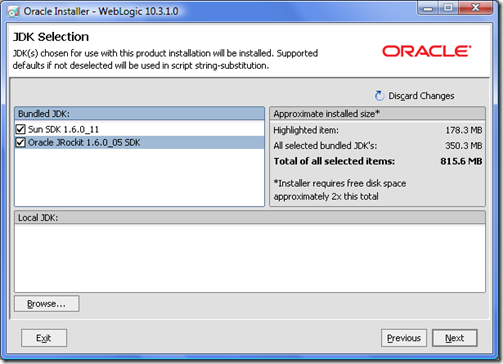
- Select JRockit as the JVM. Although it will install both and we can switch to Sun JVM after install.

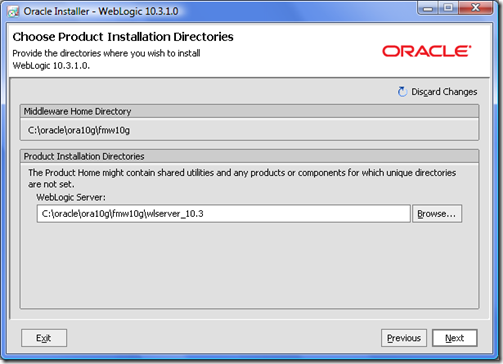
- Provide weblogic’s installation directory. Please remember that SOA Suite (Step 2 of installation) needs to be at same folder level.

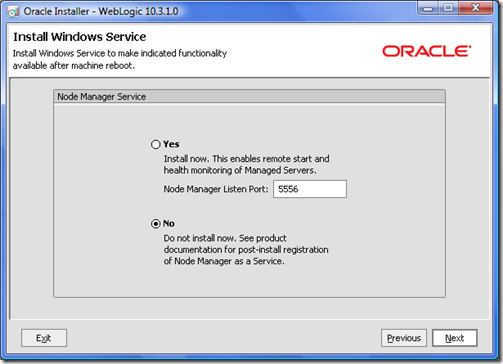
- Choose to skip node agent service.

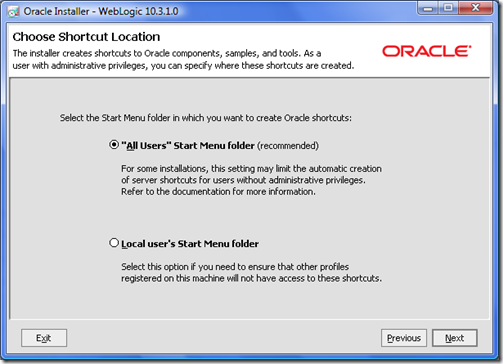
- Select “All Users” and click next

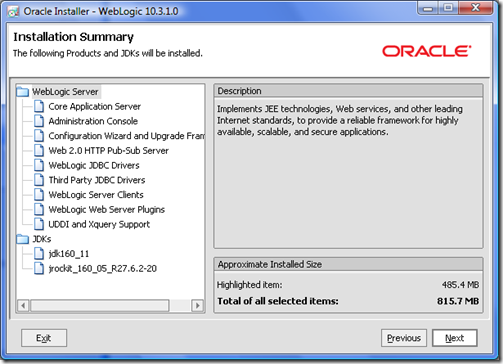
- View summary and click next

- Installation summary

- Uncheck “Run Quickstart” and click done. We will run comfit wizard after step 2 (SOA suite installation).

Step 2: SOA Suite 10.1.3.5.1 installation
- Create schemas for BPEL/ESB/OWSM using IRCA
- Click on setup, on welcome screen click next.

- select your ORACLE_HOME, remember that Weblogic Server and SOA Suite should be installed at same folder level.

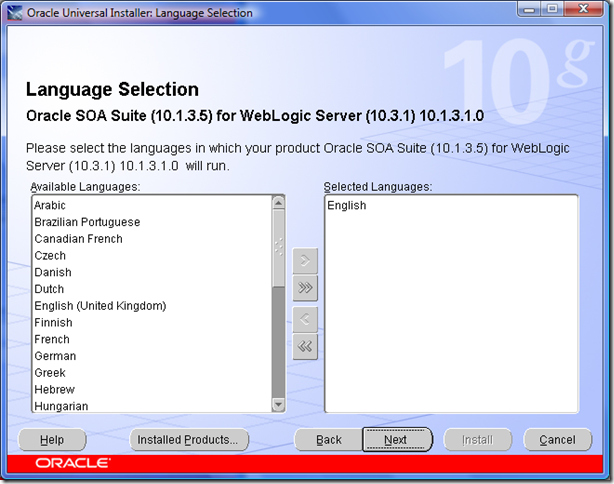
- Choose Language and click next

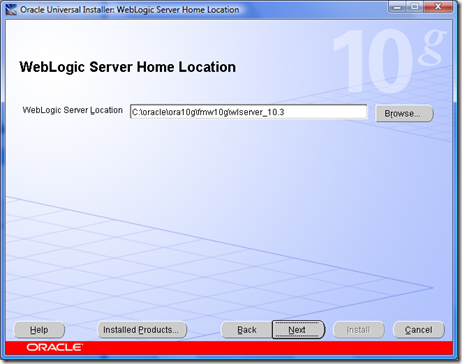
- Specify weblogic server installation directory and click Next.

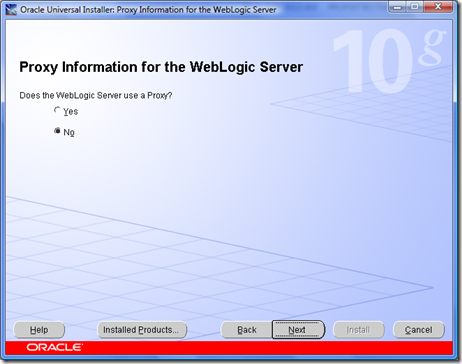
- I didn’t require a proxy configuration so skipped it

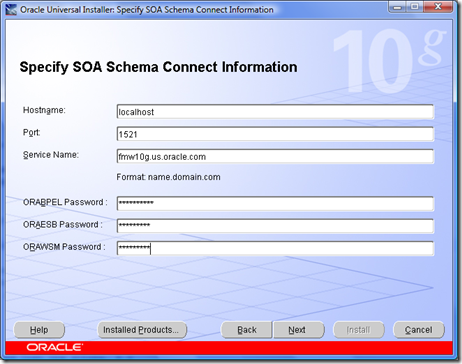
- Specify dehydration store details

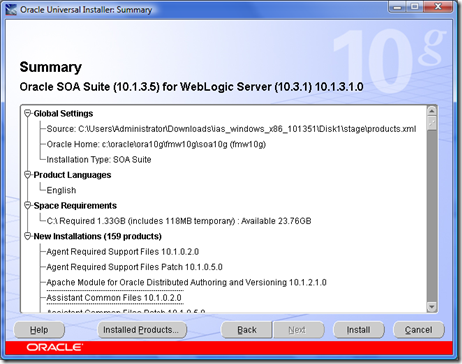
- View summary and click install

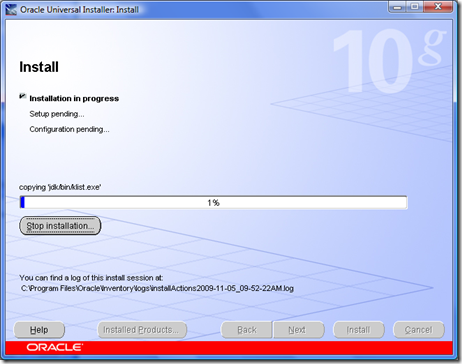
- Installation progress screen

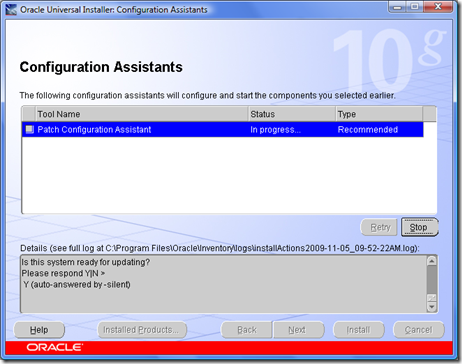
- Configuration assistant screen, remember this is not the same as we have in OC4J version. Here it performs just one task whereas in OC4J version it does all the comfit (BPEL/ESB/OWSM etc).

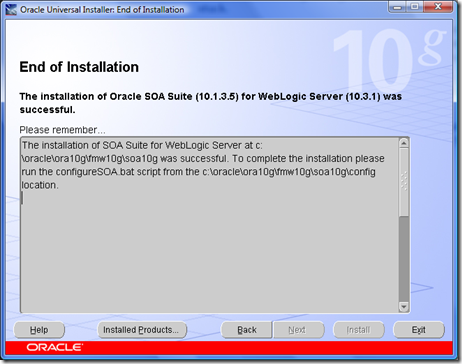
- View installation report and click Exit.

Step 3: SOA Configuration
- Start SOA configuration assistant, this will prompt you for ORAWSM password. There is a way to do it silently, but I tried it in interactive fashion.

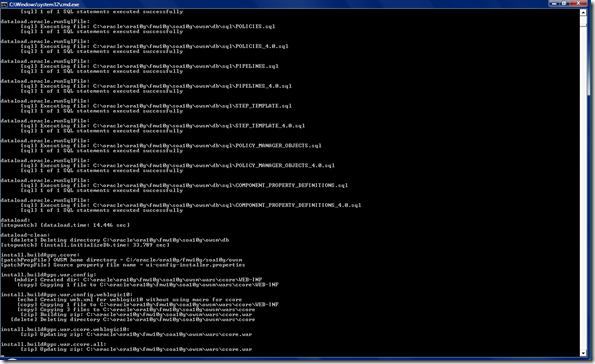
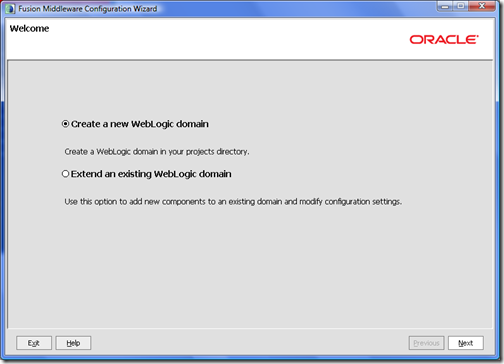
- After initial script, configuration wizard is kicked off. Here we will create a domain with 2 servers (1 admin + 1 SOA). I am in process of working of creating both on 1 server (only for developer’s machine). Select for creating a new domain and click next

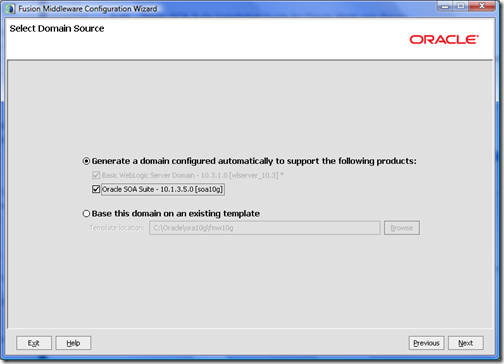
- Select “SOA Suite” as part of this configuration and click next

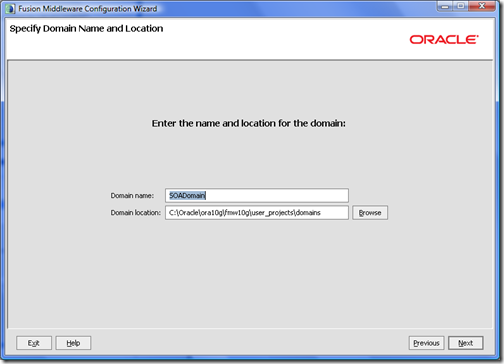
- Specify domain name and click next

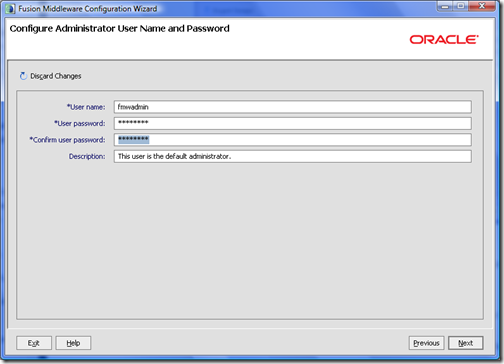
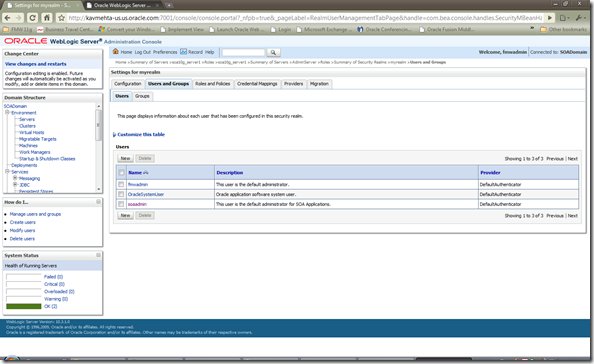
- Specify domain user name and password. By default username if “weblogic” but i prefer fmwadmin now. Remember the password as this will be the same password for “soaadmin” user which will be automatically created as part of configuration script. This user will allow you to access bpel/esb/owsm consoles.

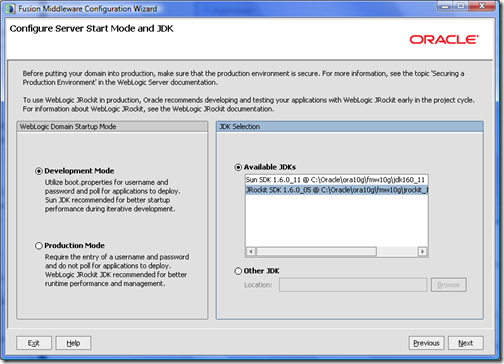
- Select startup mode (i selected development) and JDK which I choose to use JRockit.

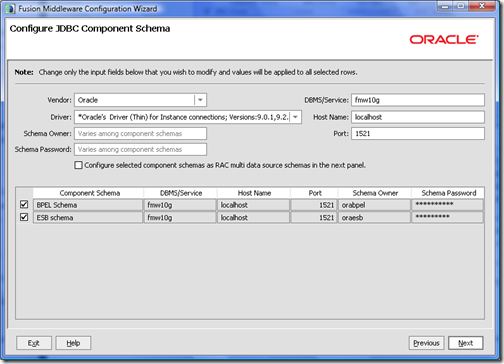
- Configure BPEL and ESB db connection parameter (remember OWSM is already done at the beginning of configuration).

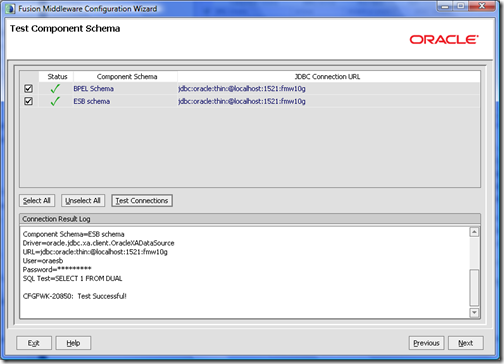
- Test your connection settings and click next

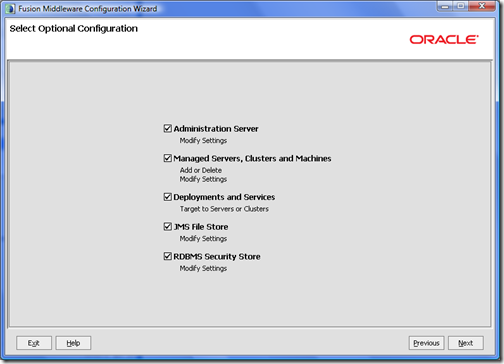
- Select all the checkboxes and click next

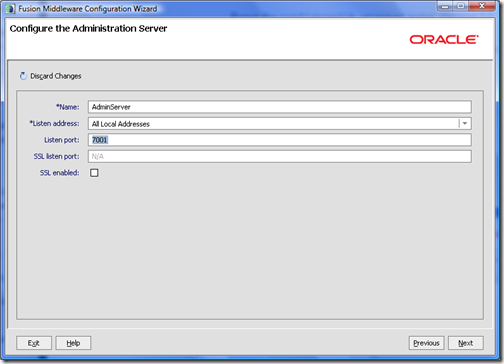
- Specify admin server name and port. I didn’t enabled SSL but we can do it later after install as well.

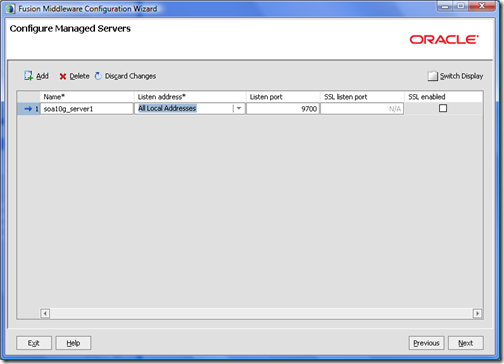
- Give managed server name and port. I left it to default values. Again no SSL but if required we can do it from weblogic admin console after this setup.

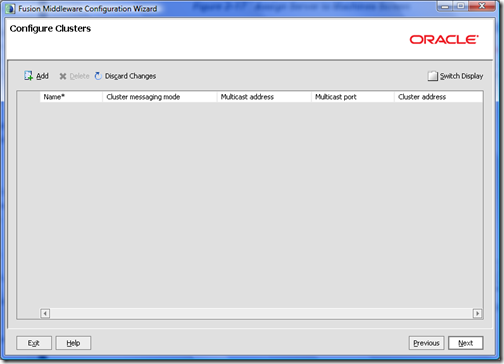
- Developer’s machine so no need to setup this

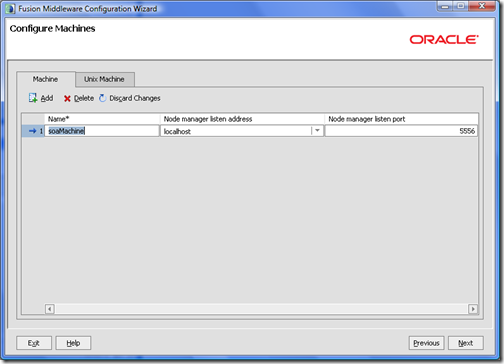
- Configure machine and node manager

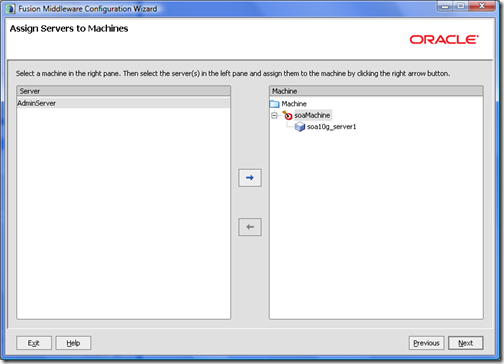
- Move managed server under the machine created earlier.

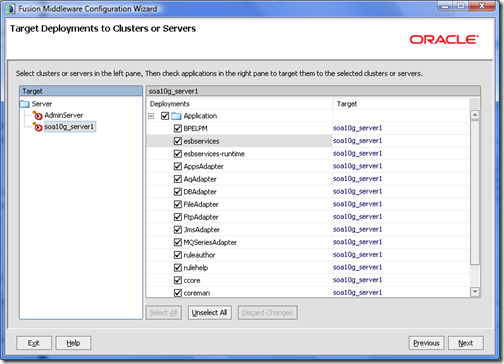
- Select managed server and select all the applications under deployment. Do not select any deployment for admin server.

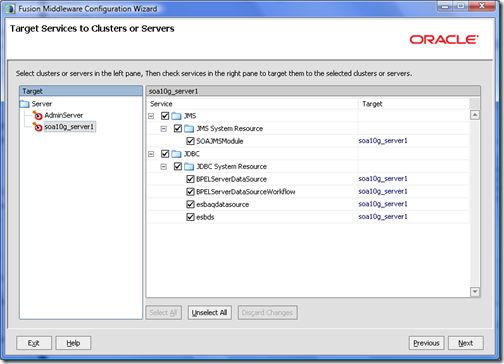
- Check JDBC and JMS resources

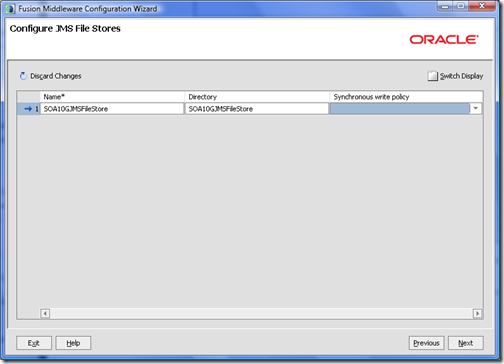
- Configure JMS file store, i kept default values, however you want to specify different directory feel free to do so.

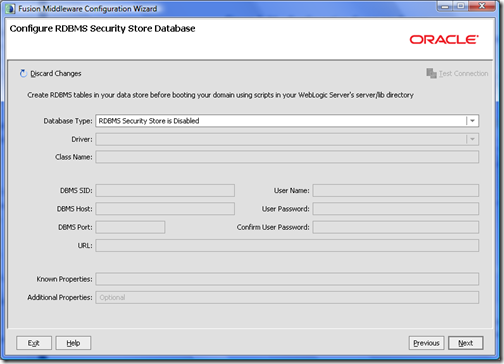
- No security configuration required, so left it at default

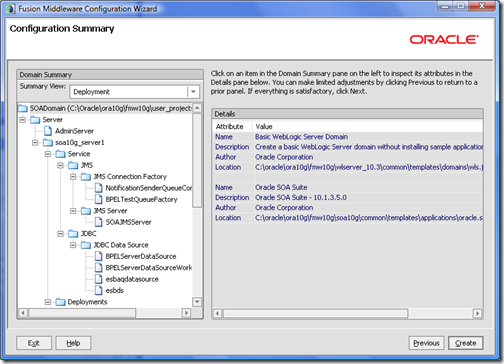
- View the configuration summary screen and click create

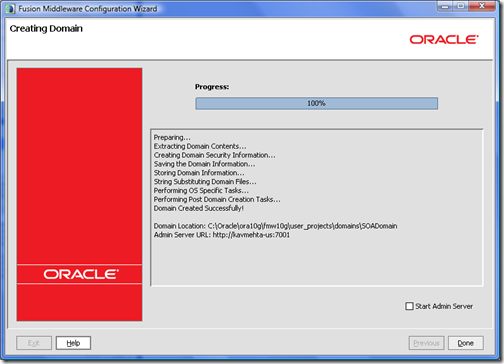
- Once finished click done and close the window.

Step 3: Post Configuration Steps.
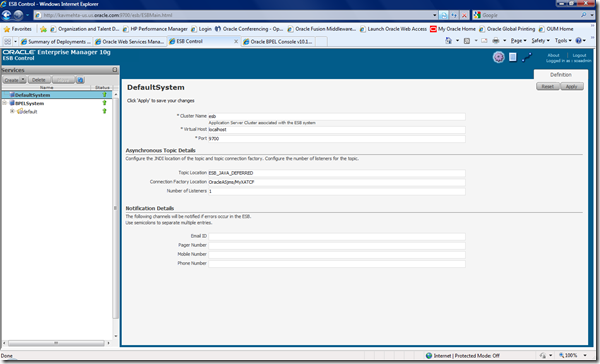
- Change topic location for ESB Systems to “ESB_JAVA_DEFERRED” also update host and port. You can ignore value of connection factory location as its not pertinent because of AQ JMS APIs
- Set StartScriptEnabled=true in nodemanager.properties if you want to use start/stop managed servers from console. I prefer to not to run nodemanager because of resource reason, so to avoid providing userid password for starting managed server, i modified startManagedWeblogic.cmd and update WLS_USER and WLS_PW and SERVER_NAME parameters like
set WLS_USER=fmwadmin
set WLS_PW=welcome1
set SERVER_NAME=soa10g_server1
- Download the velocity-dep-1.5.jar file from http://archive.apache.org/dist/velocity/engine/1.5 and copy it under bpel\lib directory. This would enable “notification” feature which is new to 10.1.3.5. Notification feature allow you to monitor system events like deploy, undeploy, retire, on/off of process and send emails etc.
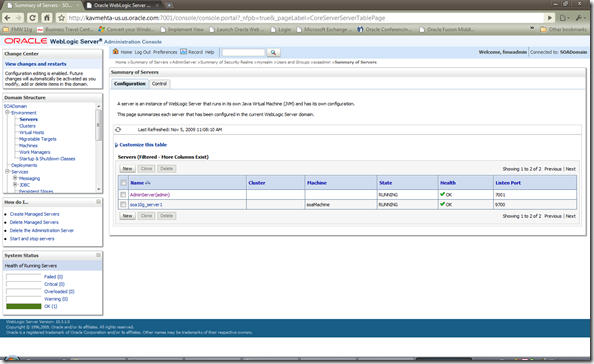
- Restart servers and check all the applications using “soaadmin” user
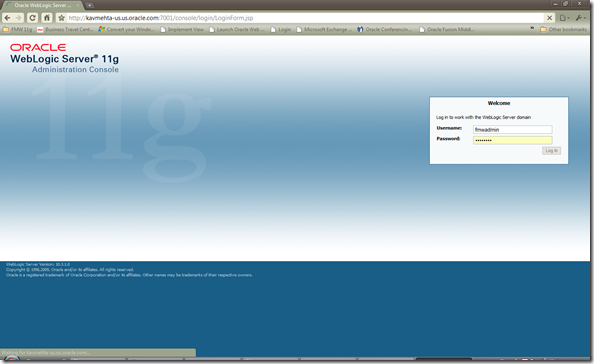
- Console (/console)
- BPELConsole (/BPELConsole)
- ESB (/esb)
- OWSM (/ccore)
- Worklist application (/integration/worklistapp/


November 11, 2009
Installation of Oracle Fusion Middleware 11g R2
Oracle Fusion Middleware 11g installation is broadly covered in 5 steps
This is my overall configuration:
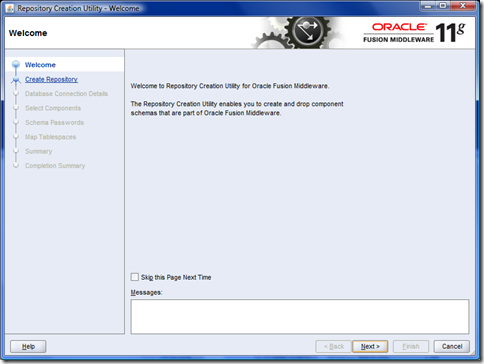
This completes our step 1 for
This completes step 2, next step is to install SOA suite component.
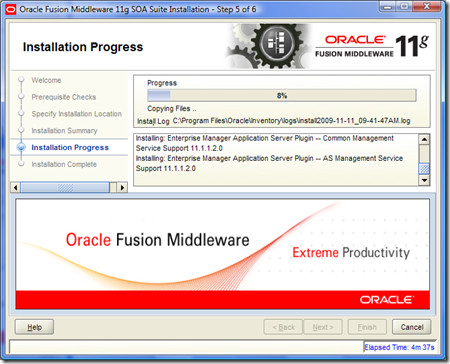
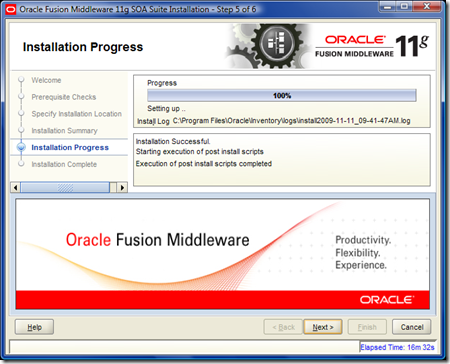
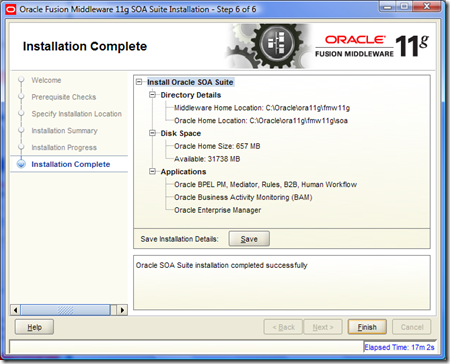
This completes our step 3 now the next step is to configure SOA suite
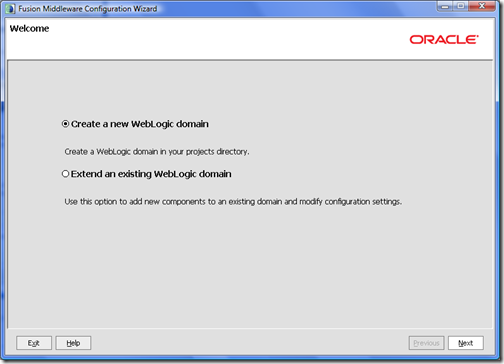
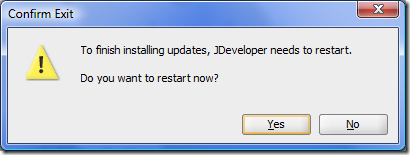
This finishes SOA 11g R2 installation.
- Create Repository
- Install Weblogic Server
- Install SOA Suite
- Configure SOA Suite
- Install and configure JDeveloper
This is my overall configuration:
- Dell 630 w/ Intel Core 2 Duo with 4 GB RAM
- Windows Server 2008 / Vista 32-bit
- Oracle Database 11.1.1.7.0
- Weblogic Server 10.3.2
- SOA Suite 11.1.1.2.0
- JDeveloper 11.1.1.2.0
Step 1: Create Repository
- Start rcu.bat (.sh), welcome screen click next

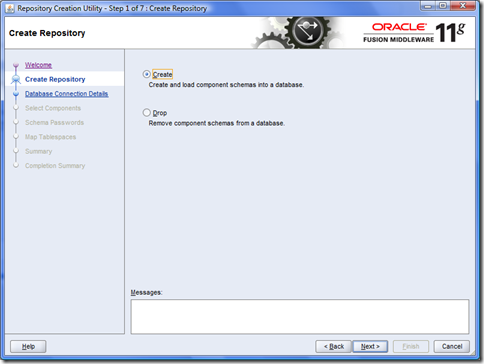
- on step 1 select “create” and click next

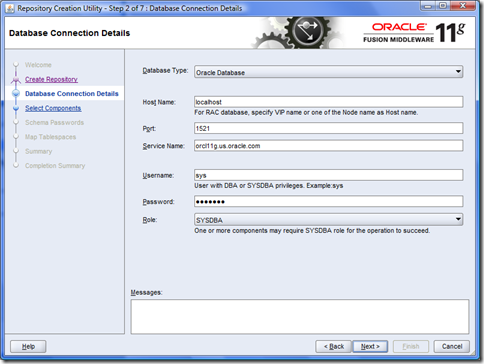
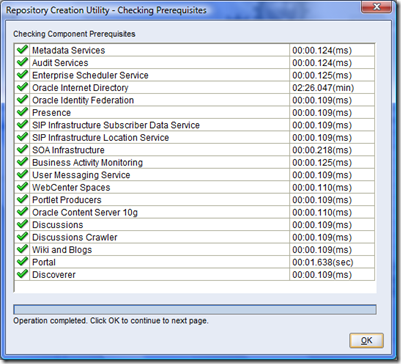
- step 2, provide DB details and click next


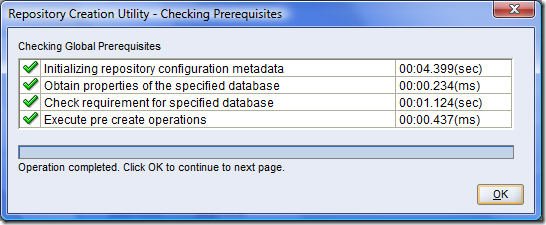
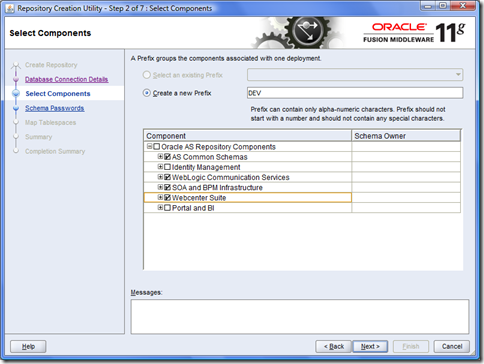
- step 3 select schemas you want to create and click next


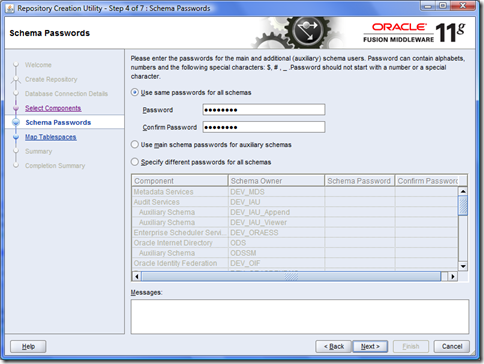
- step 4 provide passwords and click next

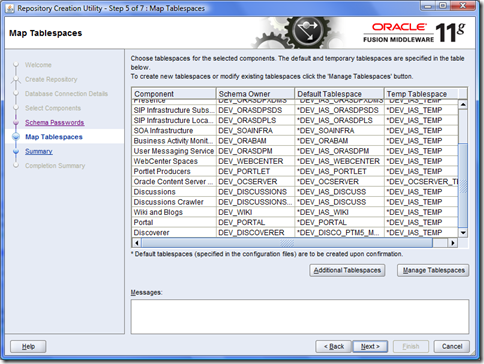
- step 5 accept default values click next


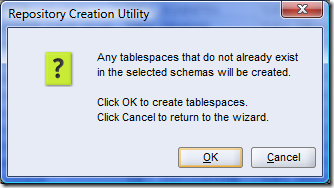
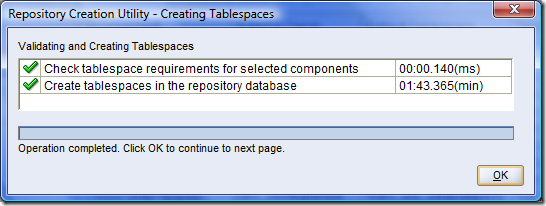
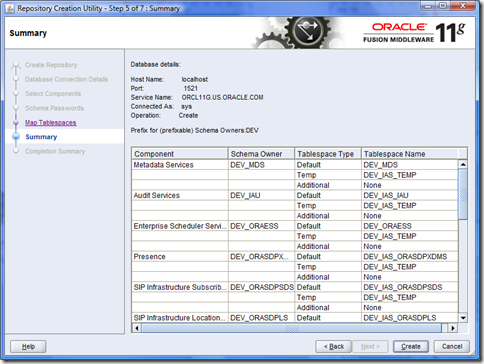
- step 6 summary screen click create

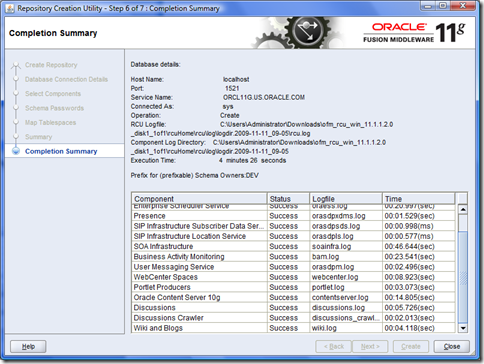
- Summary screen appears once process is complete. click close.

This completes our step 1 for
Step 2: Installation of Weblogic Server
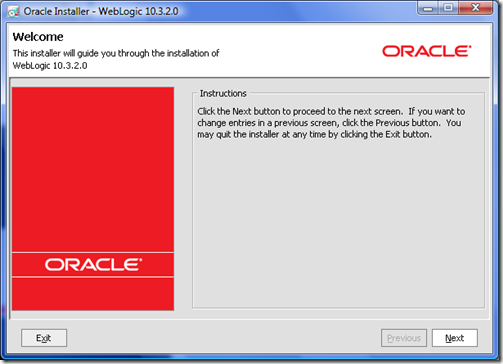
- Run weblogic server installer wls1032_win32.exe. Welcome screen appears, click next

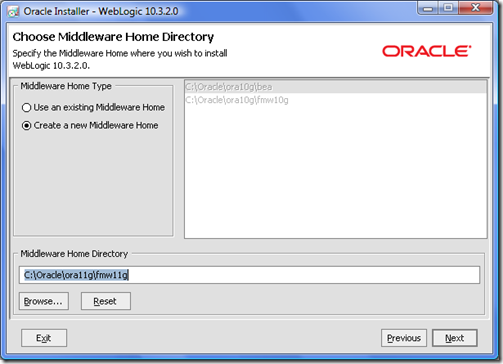
- Create new fusion middleware home directory, click next

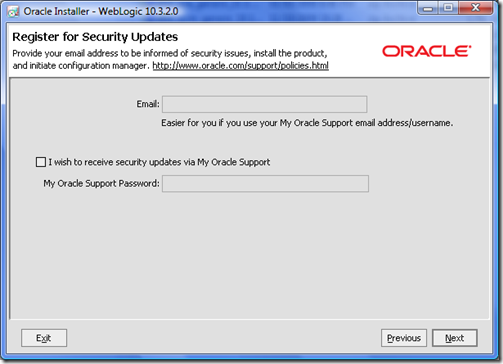
- Can’t get my configuration working so skipping it. We can configure it later after install

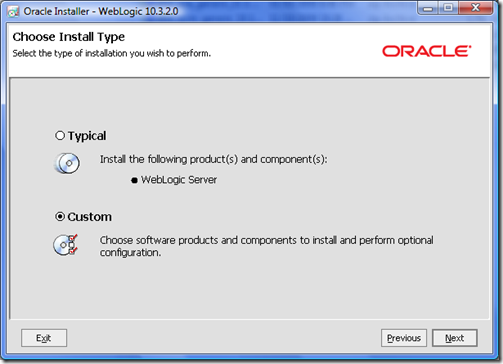
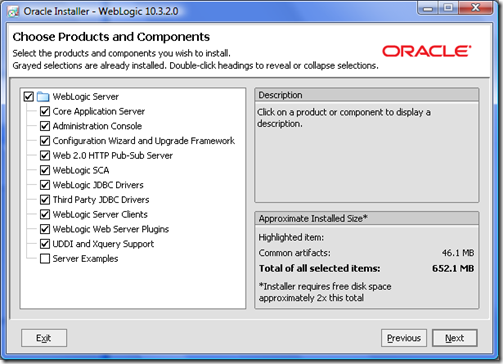
- Choose “custom” install type and click next

- Deselect “Server Example” and click next

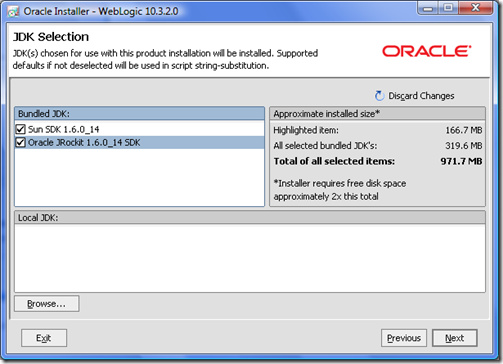
- Select JRockit as default JDK (my preference). Can switch default JDKs even after install

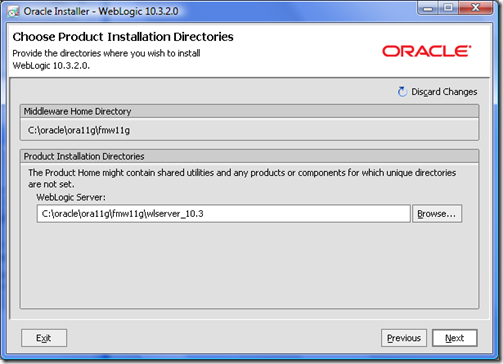
- Provide weblogic server installation directory and click next

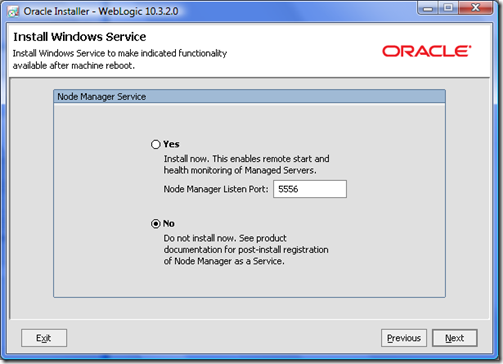
- Select “NO” service to be created for node manager and click next. We can create this service later

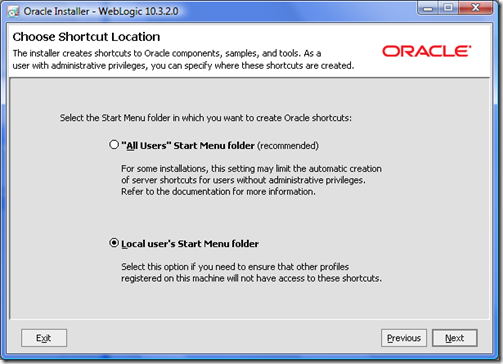
- Make your selection for shortcuts and click next

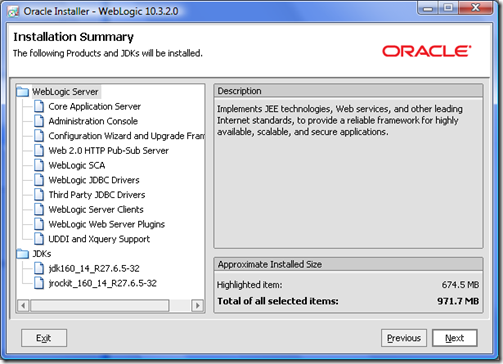
- Check summary screen and click next. This will begin installation of weblogic server

- Wait for installation to complete

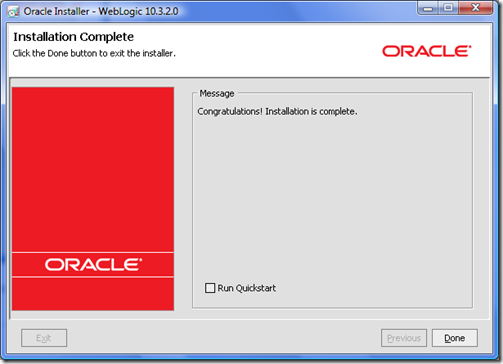
- Installation complete screen appears, uncheck “run quickstart” and click done

This completes step 2, next step is to install SOA suite component.
Step 3: Installing Oracle SOA Suite
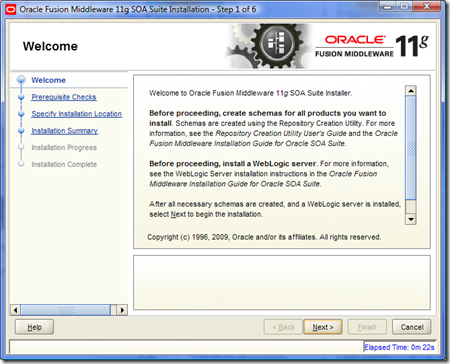
- Run soa suite installer by clicking setup.exe. On welcome screen click next

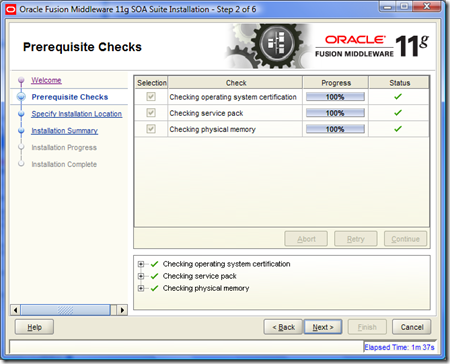
- Once it passes pre-requisite check, click next

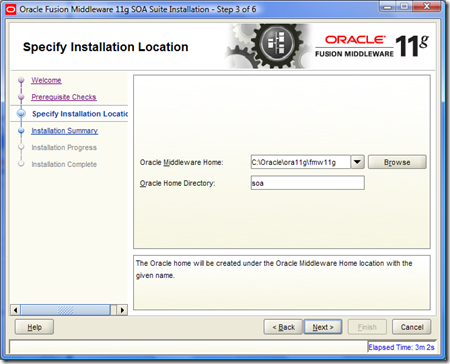
- Provide middleware home directory and folder name where you want soa suite to be installed

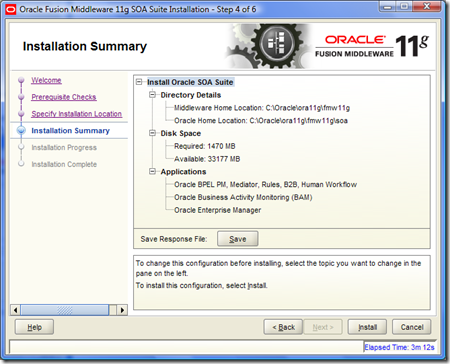
- Verify summary screen and click install

- Please wait for installation to complete

- Once installation completes, click next

- View completion summary and click finish

This completes our step 3 now the next step is to configure SOA suite
Step 4: Configure SOA Suite
- Run config.cmd form FMW_HOME/<SOA_DIR>/common/bin. This will initiate weblogic domain configuration by initiating wizard. On welcome screen, select new domain and click next

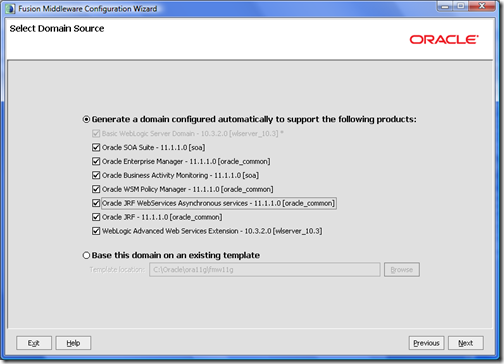
- Select components as per screen and click next

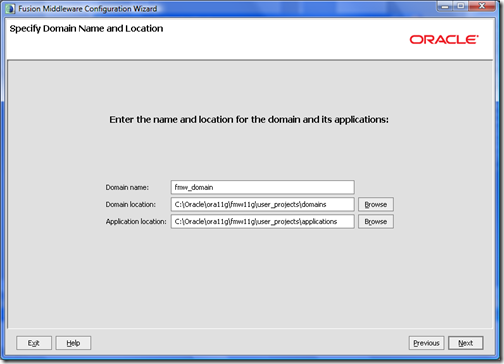
- Provide domain name and click next

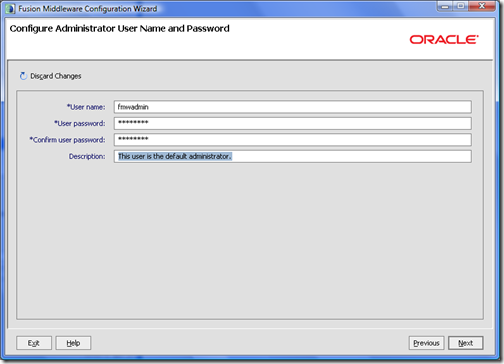
- Provide admin username and password. Click next

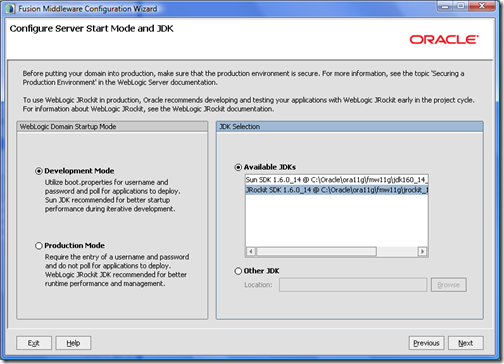
- Select startup mode and default JDK (I choose JRockit) and click next

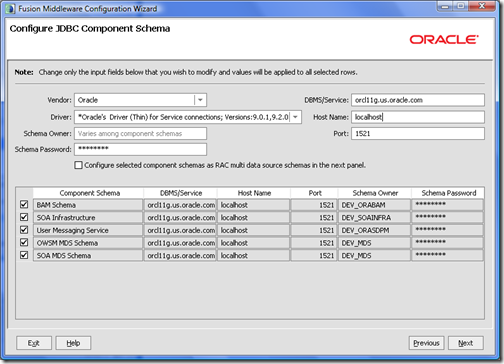
- Provide MDS information and click next. This would initiate test screen to validate settings provided for MDS

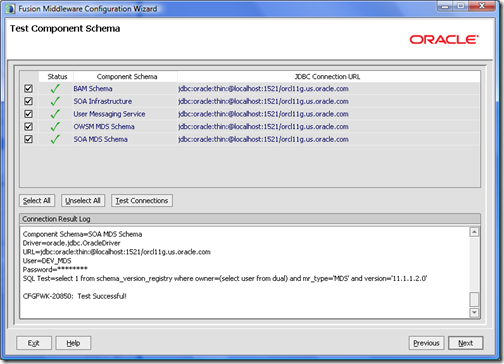
- Once successful, click next on test component screen

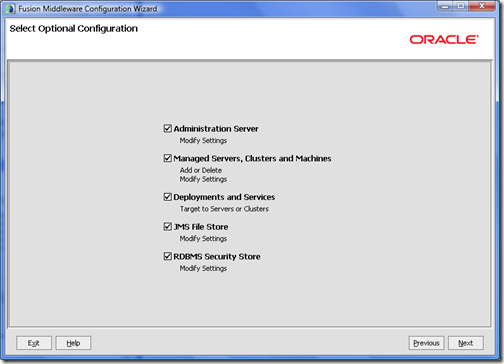
- Check all components on optional configuration screen. We have to do it because I will be installing all components in one server rather than default configuration of admin server, soa server and bam server. This runs better on my laptop. I would not recommend it DEV environment either.

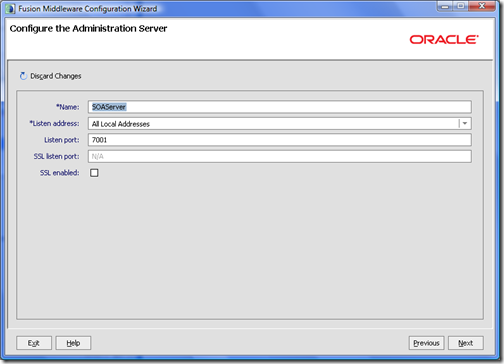
- Provide server name and click next

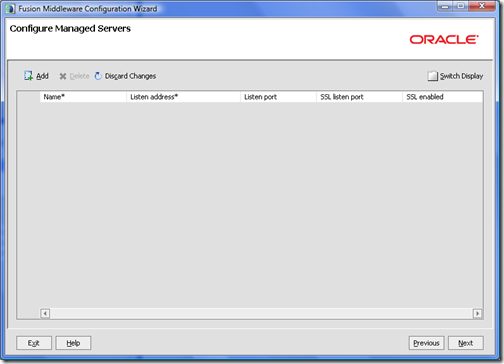
- Delete both the servers from managed server screen and click next

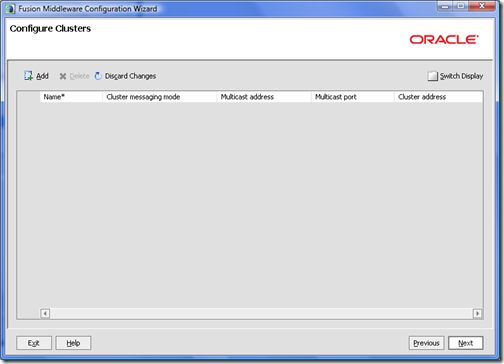
- Click next on configure cluster screen

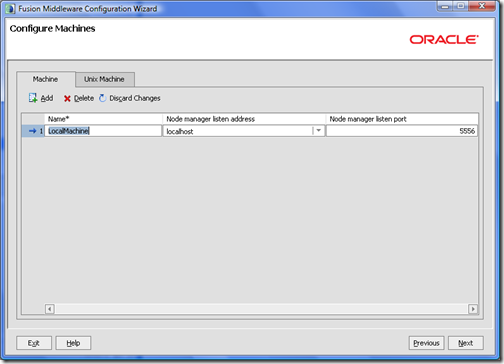
- Accept default values on configure machine screen and click next

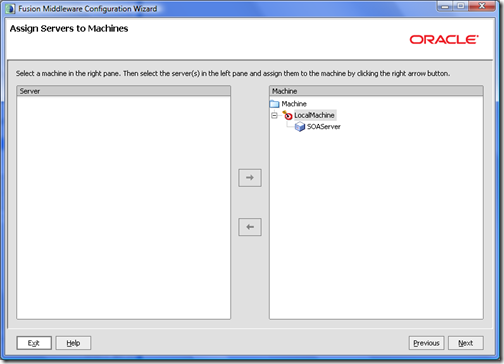
- Move your SOAServer to localmachine and click next

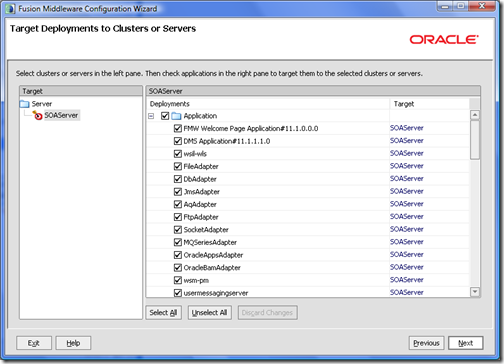
- Check deployments and click next

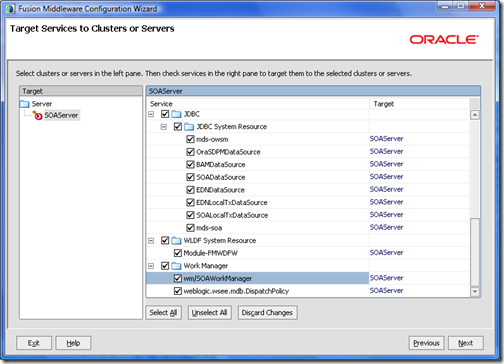
- Select services on cluster and click next

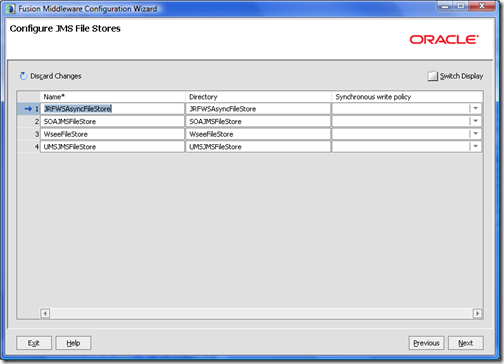
- Accept default values for JMS Store and click next

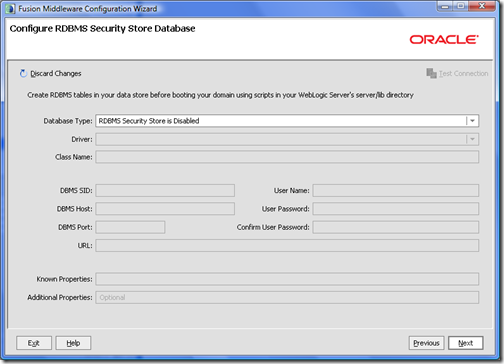
- Click next on security screen

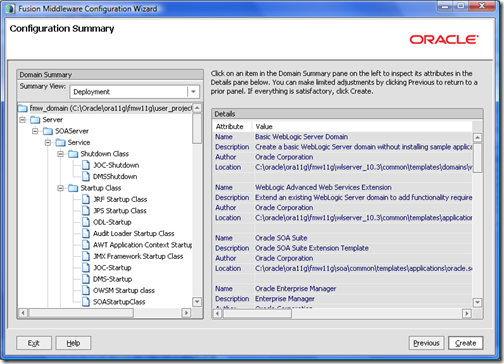
- Check summary screen and click create

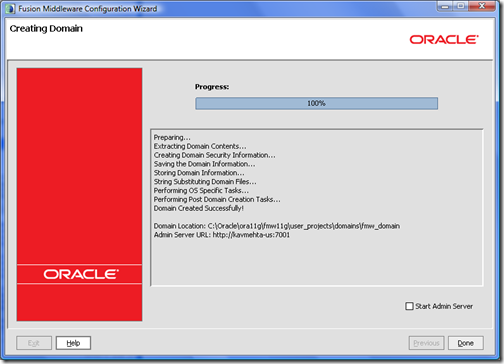
- When creation completes, click done. Do not start admin server right now.

- Change memory arguments in setDomainEnv.cmd. Easiest option to do it to set USER_MEM_ARGS variable
- set USER_MEM_ARGS = -Xms1024m -Xmx1024m -Xmn614m -XX:PermSize=256m -XX:MaxPermSize=256m
- Configure ORACLE BAM with custom port 7001 (default is 9001)
- Edit file FMW_HOME/SOA_HOME/bam/config/BAMICommandConfig.xml
- <ADCServerPort>7001</ADCServerPort>
- Start Server
- Edit following file under MW_HOME\user_projects\domains\<DOMAIN_NAME>\servers\<SERVER_NAME>\tmp\_WL_user\oracle-bam_11.1.1\<RANDOM_NUBMER>\APP-INF\classes\config\
- BAMWebConfig.xml >> <ServerPort>7001</ServerPort>
- BAMServerConfig.xml >> <ADCServerPort>7001</ADCServerPort>
- BAMCommonConfig.xml >> <ApplicationURL>http://localhost:7001</ApplicationURL>
- Restart server
- Edit file FMW_HOME/SOA_HOME/bam/config/BAMICommandConfig.xml
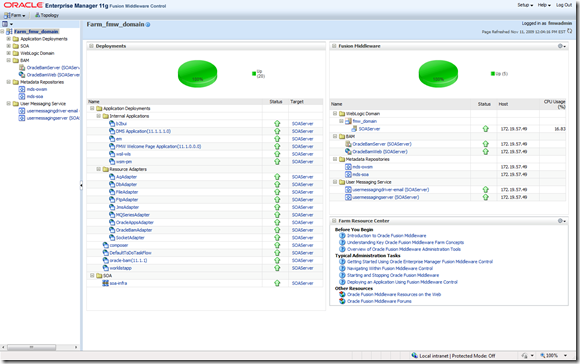
- Check all the components

Step 5: Installing and configuring JDeveloper
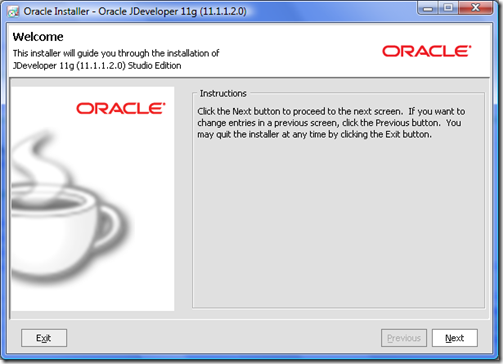
- Click next on welcome screen

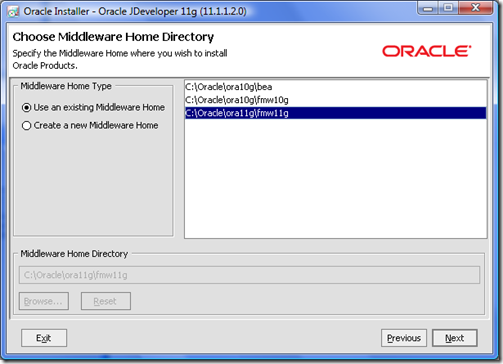
- Select FMW home and click next. Please remember to select the one where we installed weblogic 10.3.2 and SOA Suite 11g R2

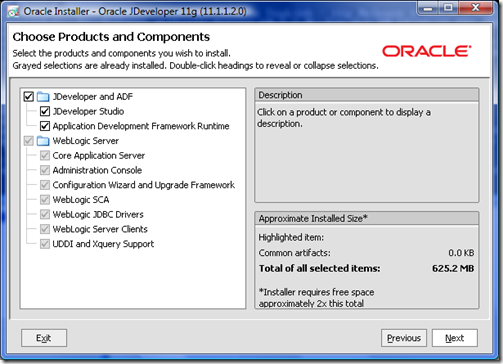
- Accept defaults at component screen and click next

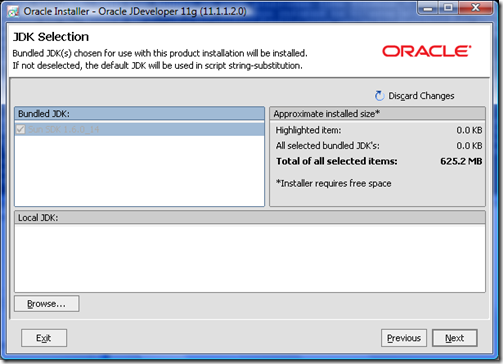
- Select JDK and click next

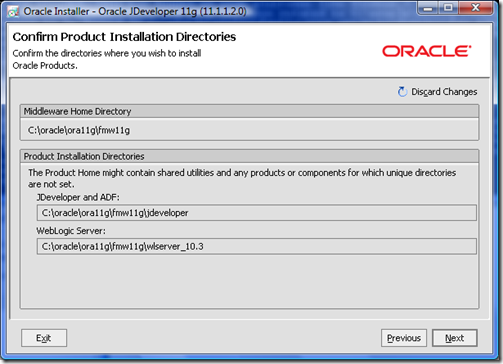
- Choose installation folder and click next

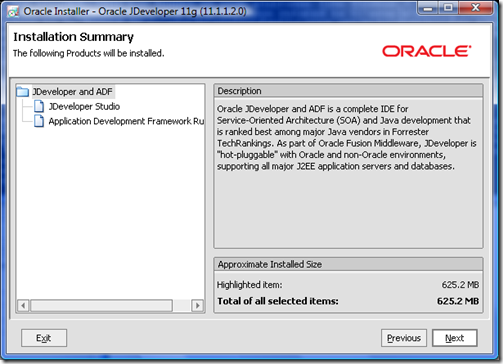
- Check summary and click next

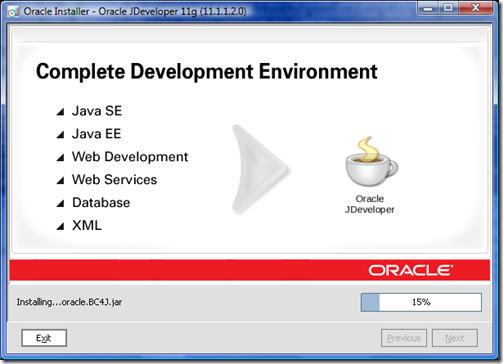
- Installation progress screen appears, wait for installation to finish

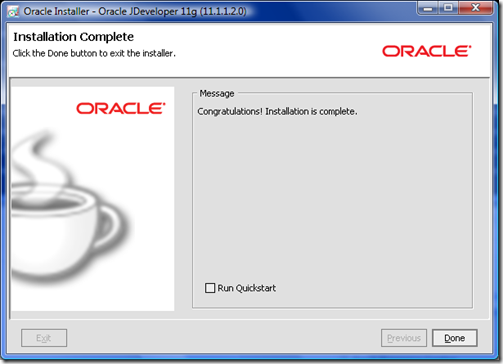
- Click Done

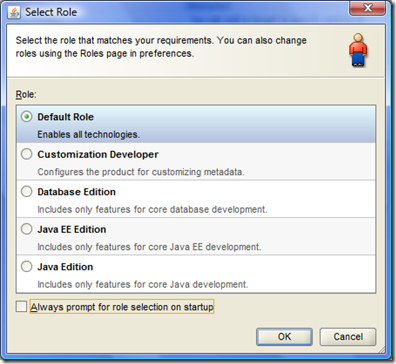
- Start JDeveloper 11g, choose default role and click ok

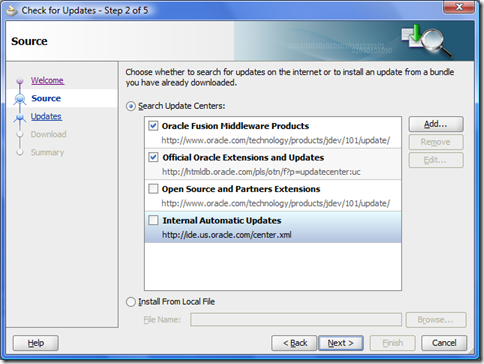
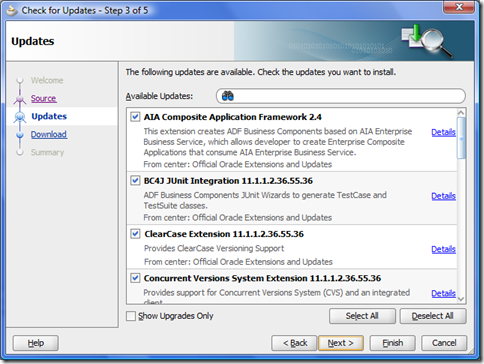
- Click on Help > Check for updates and then you will be able to get all the latest updates. However if you want to download extensions and distribute it you can go to http://www.oracle.com/technology/products/jdev/101/update/center.xml (open it in IE) and download extensions for your version. Also http://www.oracle.com/technology/products/jdev/101/update/fmw_products.xml to download SOA, WebCenter, Team Productivity extensions.

- “Select All” or select the ones your want.

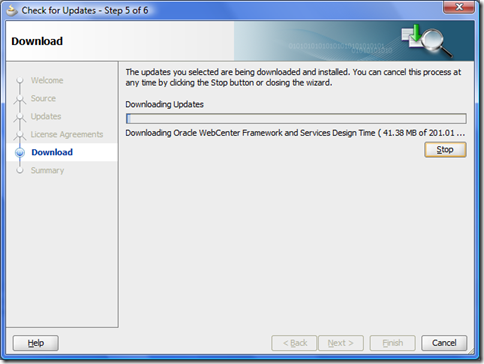
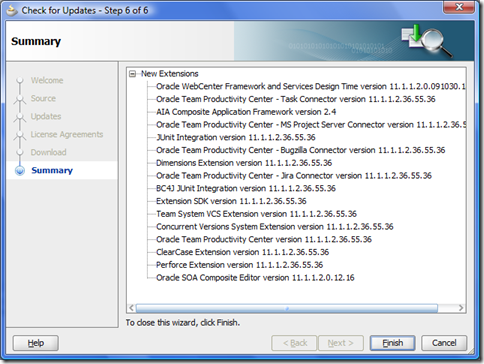
- After Installation completes, click finish


This finishes SOA 11g R2 installation.
October 7, 2009
JGroups Log Configuration
Even though you set "org.collaxa.thirdparty.jgroups” logging level from BPELConsole to minimum, still you will find that jgroup messages are logged in file. To have full control on JGroups logging, please perform the following steps:
- Stop the OC4J process using opmnctl
- Open the $ORACLE_HOME/j2ee/<oc4j_name>/config/j2ee-logging.xml file and add the following log handler for jgroups. You can change the path to any other directory. I have set it to $ORACLE_HOME/bpel/system/logs/jgroups folder where a log.xml will be created. This file will contain the jgroups log messages:
<log_handler name="jgroups-handler" class="oracle.core.ojdl.logging.ODLHandlerFactory">

<property name="path" value="%ORACLE_HOME%/bpel/system/logs/jgroups"/>

<property name="maxFileSize" value="10485760"/>

<property name="maxLogSize" value="104857600"/>

<property name="encoding" value="UTF-8"/>

<property name="supplementalAttributes" value="J2EE_APP.name,J2EE_MODULE.name"/>

</log_handler> <logger name="org.collaxa.thirdparty.jgroups" level="SEVERE" useParentHandlers="false">
<handler name="jgroups-handler"/>
</logger>- Start the BPEL OC4J process using opmnctl and confirm the jgroups trace level messages in the $ORACLE_HOME/bpel/system/logs/jgroups/log.xml file.
- You can use the EM console to change the level for "org.collaxa.thirdparty.jgroups" to the desired level, or directly edit this file and change the level.
August 31, 2009
Complete Installation and configuration of Oracle Data Integrator (ODI), ODI Web Services with JDeveloper, BPEL
Installing Oracle Data Integrator, Oracle Data Profiling, Oracle Data Quality
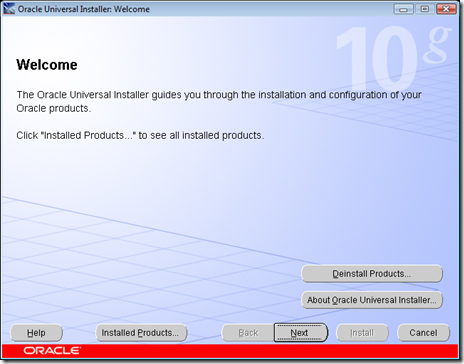
- Click on setup.exe . Click Next
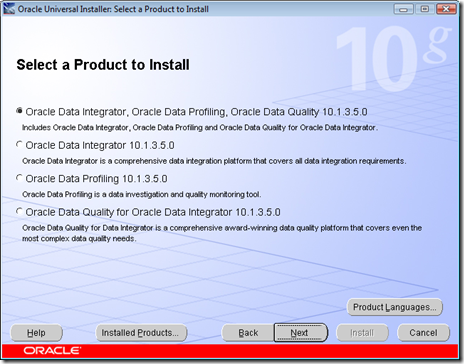
- Check “Oracle Data Integrator, Oracle Data Profiling, Oracle Data Quality 10.1.3.5.0” and click next
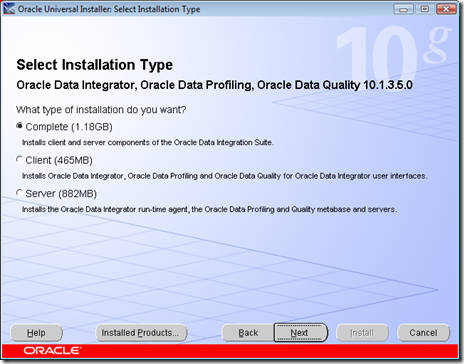
- Check “Complete” and Click next
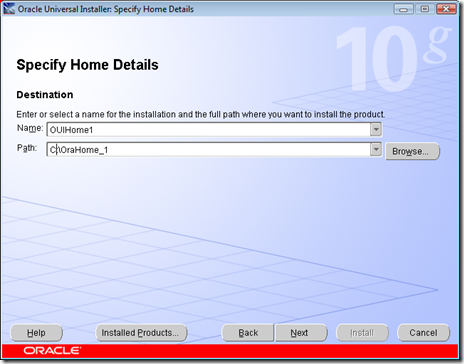
- Specify ODI Home name and location. Click Next
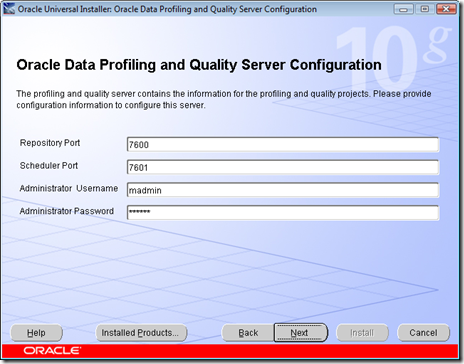
- Specify port, click Next
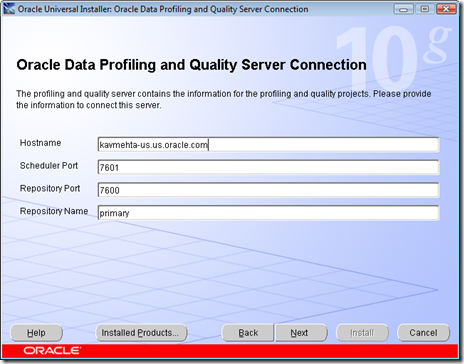
- Specify host name and ports, I left them at default ones.
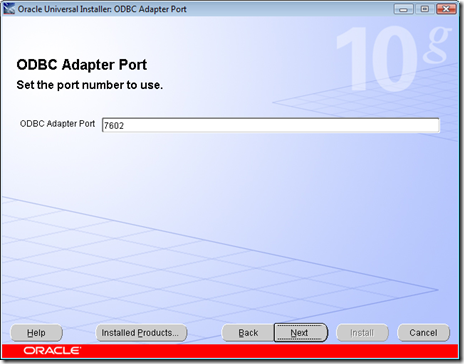
- Again left at default one
- Check summary and click Install
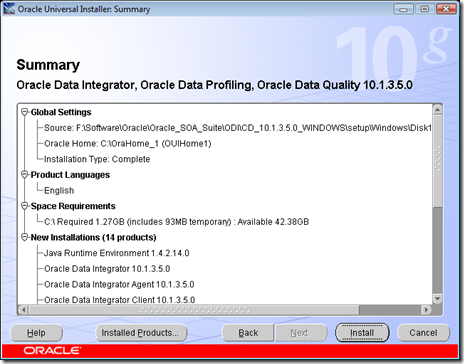
Configuring Repository
- After install is finished execute the script to create master and work repository user. You can use the one I did
– tablespace for master repository
create tablespace ts_odim
logging
datafile ‘C:\oracle\ora10g\database\oradata\orcl\ts_odim.dbf’
size 32m
autoextend on;
– tablespace for work repository
create tablespace ts_odiw
logging
datafile ‘C:\oracle\ora10g\database\oradata\orcl\ts_odiw.dbf’
size 32m
autoextend on;
create temporary tablespace tmp_odi
tempfile ‘C:\oracle\ora10g\database\oradata\orcl\tmp_odi.dbf’
size 32m
autoextend on ;
– USER SQL
CREATE USER snpm IDENTIFIED BY snpm123
DEFAULT TABLESPACE TS_ODIM
TEMPORARY TABLESPACE TMP_ODI;
GRANT CONNECT, RESOURCE TO snpm;
CREATE USER snpw IDENTIFIED BY snpw123
DEFAULT TABLESPACE TS_ODIW
TEMPORARY TABLESPACE TMP_ODI;
GRANT CONNECT, RESOURCE TO snpw;
- Launch bin/repcreate.bat or bin/repcreate.sh to create Master Repository. Complete fields and click OK
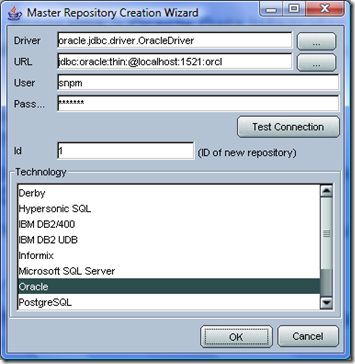
- When prompted, click OK

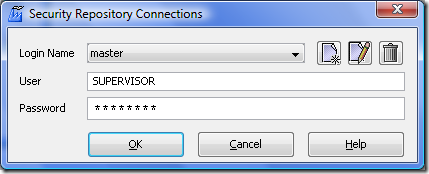
- To connect to the Master repository launch the Topology Manager script (bin/topology.bat or bin/topology.sh)
- Click on the button New
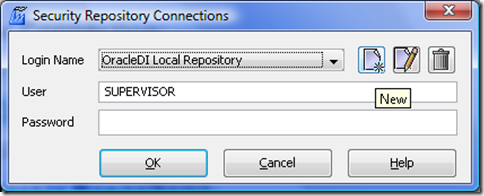
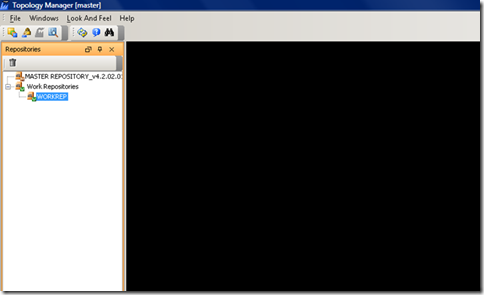
- Click on Test to check the connection is working. Validate by OK, then OK. Topology Manager opens.
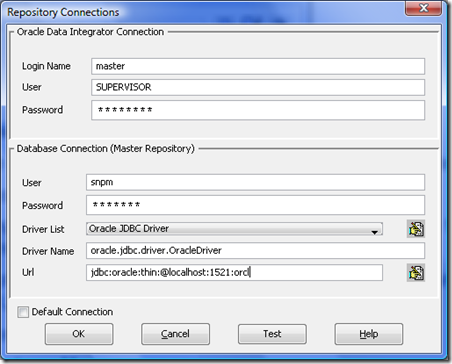
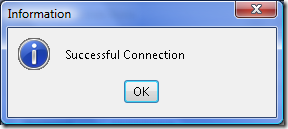
- The default password of the SUPERVISOR is SUNOPSIS.
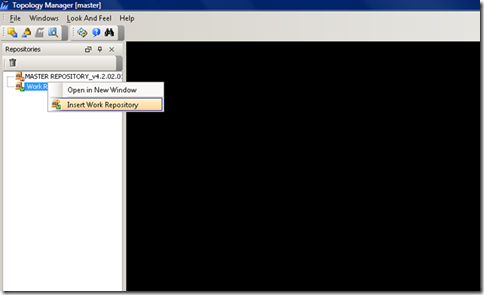
- In the icon list Topology -> Repositories -> Work repositories, click with the right button,
then choose Insert work repository.
- In the connection window, complete the parameters and click OK
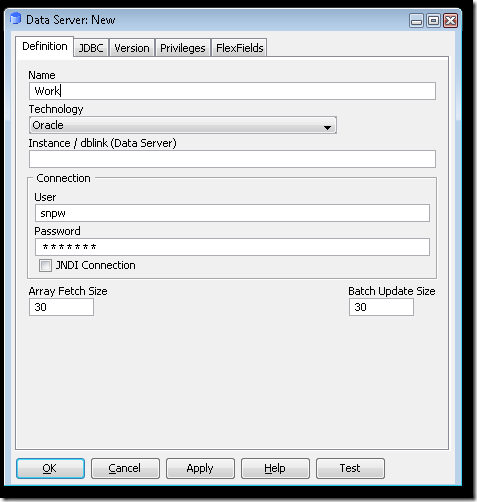
- Click JDBC tab
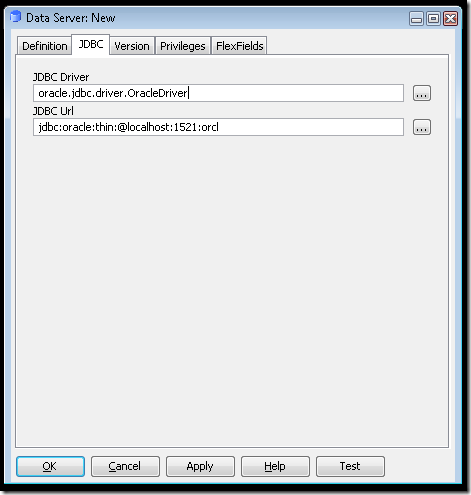
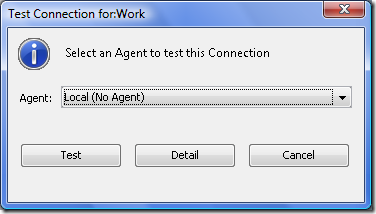
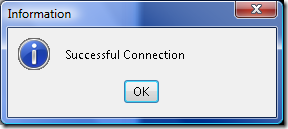
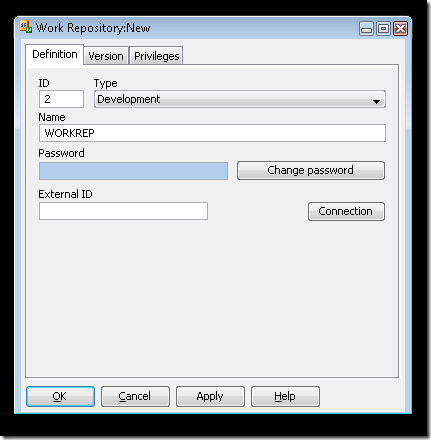
- New Work Repository can be seen in topology manager now
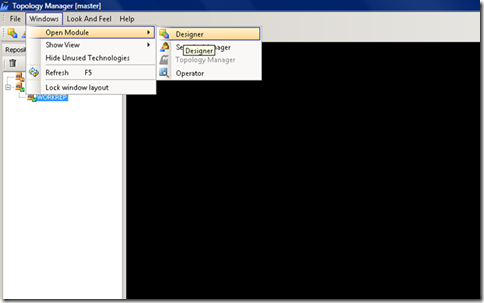
- To connect to a work repository and launch the Designer module
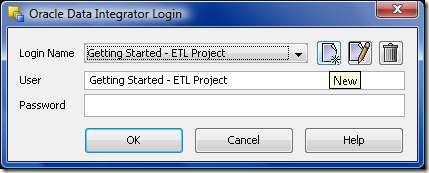
- Click on the button New
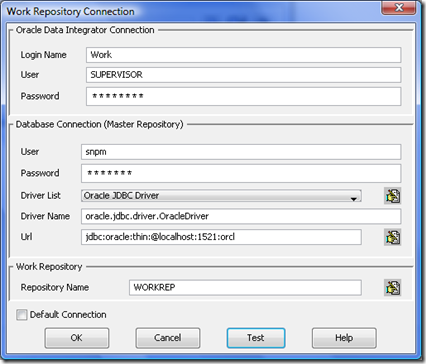
- Complete the fields, test connection and click ok
- Now connect to work rep using SUPERVISOR/SUNOPSIS
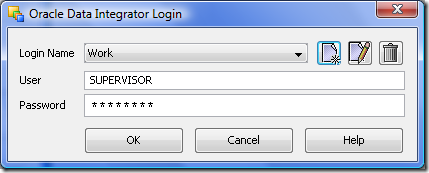
- New Designer window will open up for current repository
Deploying ODI Web Applications – Lightweight Designer
- Open Enterprise Manager console
- Click oc4j_odi > Applications > Deploy
- Browse to location <ODI_DOWNLOAD_DIR>\setup\Manual and select oracledilwd.war file (Lightweight Designer)
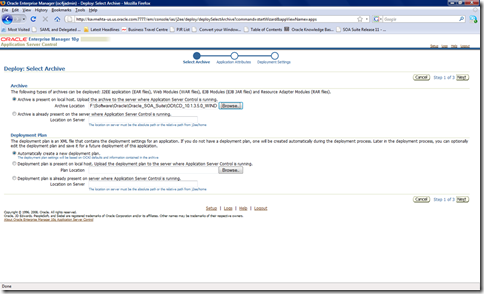
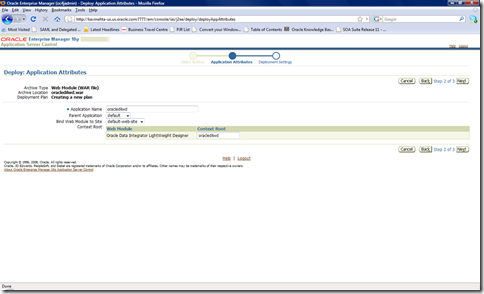
- Click Next
- Accept default values, click Next
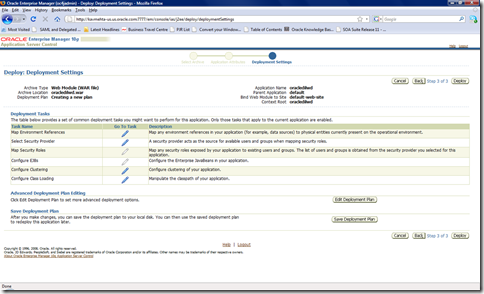
- Click Deploy
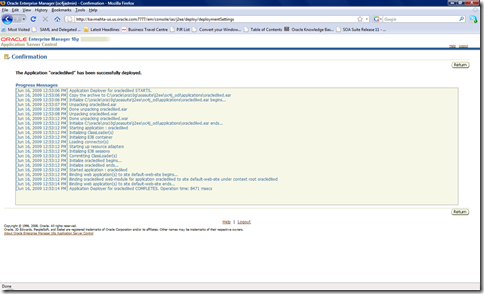
- Check deployment report for any errors and click Return.
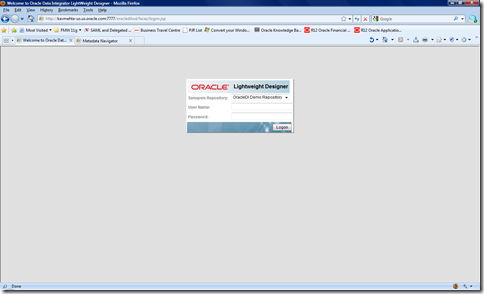
- Test Application at http://oc4j_host:oc4j_port/oracledilwd/
Configuring Repository Connections
- Lightweight Designer connects the repositories though JDBC datasource. Update data-sources.xml to have connection pool and datasources configured as below.
<managed-data-source user="snpm" password="snpm123" connection-pool-name="ODI_CONNECTION_POOL" jndi-name="jdbc/ORACLE_MASTER" name="ODI_MASTER_DS"/>
<managed-data-source user="snpw" password="snpw123" connection-pool-name="ODI_CONNECTION_POOL" jndi-name="jdbc/ORACLE_WORK" name="ODI_WORK_DS"/>
<connection-pool name="ODI_CONNECTION_POOL">
<connection-factory factory-class="oracle.jdbc.pool.OracleDataSource" url="jdbc:oracle:thin:@//localhost:1521/orcl"/>
</connection-pool>
- Add the entries to link the datasource in the application context. Edit web.xml located under <OC4J_ODI>\applications\oracledilwd\oracledilwd\WEB-INF\web.xml
<resource-ref>
<description>Oracle Datasource for the Master Repository</description>
<res-ref-name>jdbc/ORACLE_MASTER</res-ref-name>
<res-type>javax.sql.DataSource</res-type>
<res-auth>Container</res-auth>
<res-sharing-scope>Unshareable</res-sharing-scope>
</resource-ref>
<resource-ref>
<description>Oracle Datasource for the Work Repository</description>
<res-ref-name>jdbc/ORACLE_WORK</res-ref-name>
<res-type>javax.sql.DataSource</res-type>
<res-auth>Container</res-auth>
<res-sharing-scope>Unshareable</res-sharing-scope>
</resource-ref>
- Define the Lightweight Designer login information to the work repositories. Edit repositories.xml located under <OC4J_ODI\applications\oracledilwd\oracledilwd\
<login name="My Work Repository">
<master name="jdbc/ORACLE_MASTER" masterDriver="oracle.jdbc.OracleDriver"/>
<work name="jdbc/ORACLE_WORK" workName="WORKREP"/>
</login>
Deploying ODI Web Applications – Metadata Navigator
- Click oc4j_odi > Applications > Deploy
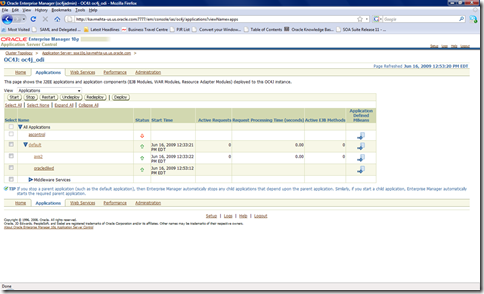
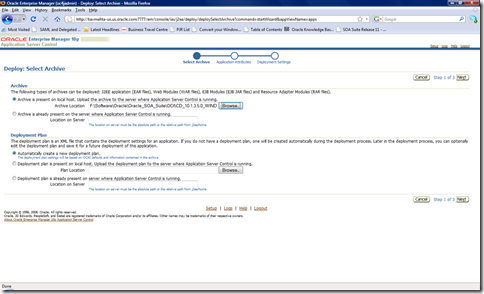
- Browse to location <ODI_DOWNLOAD_DIR>\setup\Manual and select oracledimn.war file (Metadata Navigator). Click Next
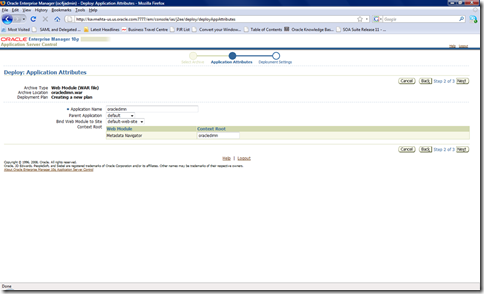
- Accept defaults, click Next
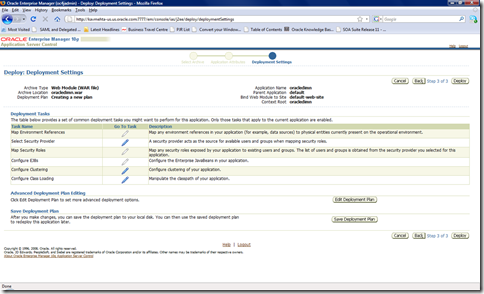
- Click Deploy
- Check deployment report for any errors and click Return.
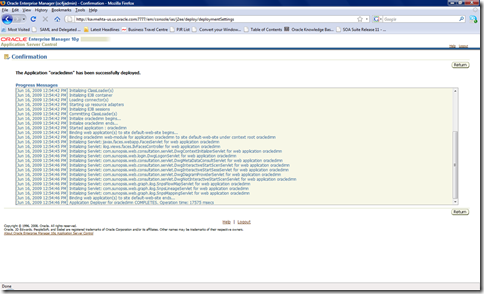
- Test Application at http://oc4j_host:oc4j_port/oracledimn/
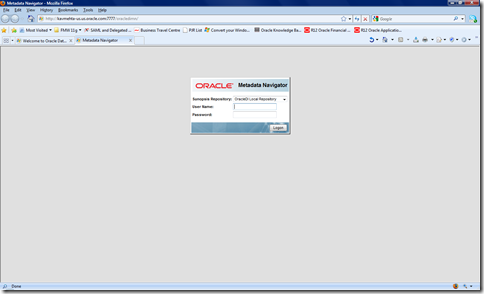
Configuring Repository Connections
To configure the connections to your repositories in the web application, we need to follow two steps.- Configure the connection to the work repository in Designer.
- Copy the snps_login_work.xml file from <ODI_HOME>\oracledi\bin directory into <OC4J_ODI>\applications\oracledimn\oracledimn\WEB-INF/WEB_INF
Configuring Apache Axis 2 (ver 1.2)
- Download Axis 1.2 WAR file from http://ws.apache.org/axis2/download/1_2/download.cgi. It would be a zip file download, simply rename it to axis2.war
- Click oc4j_odi > Applications > Deploy
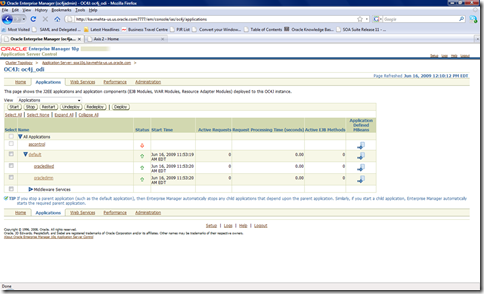
- Provide WAR file location and click next
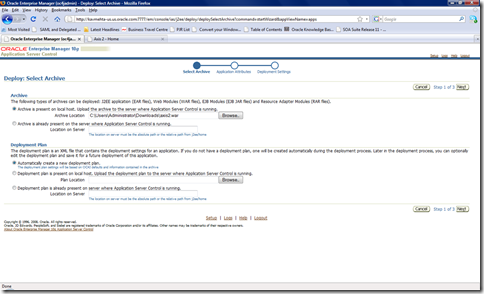
- Provide WAR file location and click next
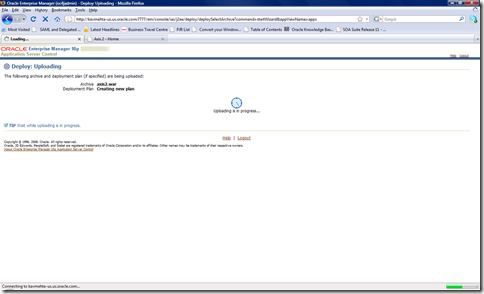
- Provide WAR file location and click next
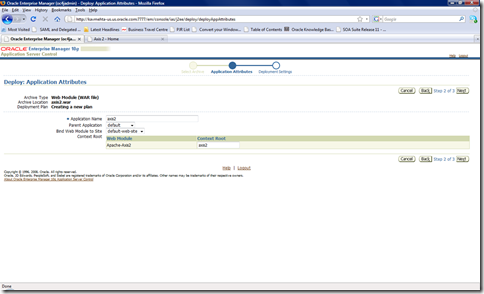
- Provide WAR file location and click next
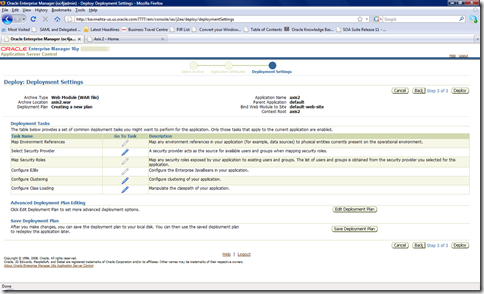
- Provide WAR file location and click next
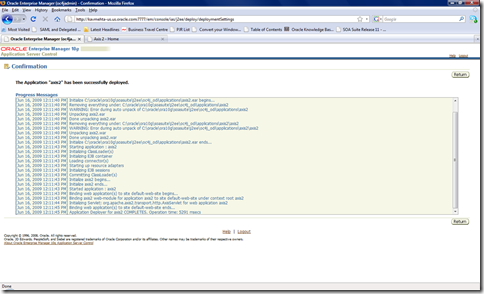
- Access Axis application at http://oc4j_host:oc4j_port/axis2/axis2-web/index.jsp
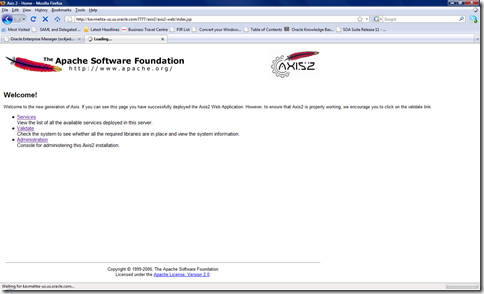
- Click on the Validate button, the happy axis page will appear: http://oc4j_host:oc4j_port/axis2/axis2-web/HappyAxis.js
- Click on the Administration link will take you to http://oc4j_host:oc4j_port/axis2/axis2-admin the default username/password are: admin/axis2
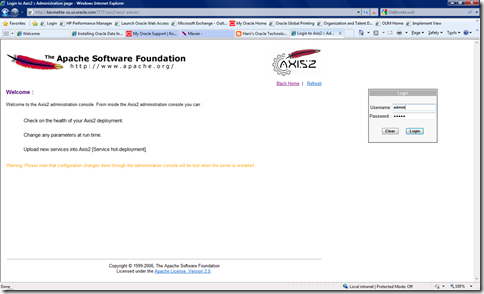
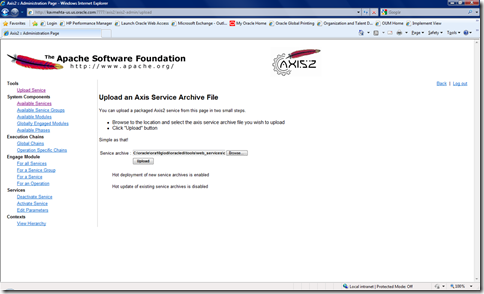
- Deploy odi-public-ws.aar located under <ODI_DOWNLOAD_DIR>\oracledi\tools\web_services using the "Upload Service" link or drop into webapps/axis2/web-inf/services directory
- Deployment confirmation page showing success (or in cases will show errors)
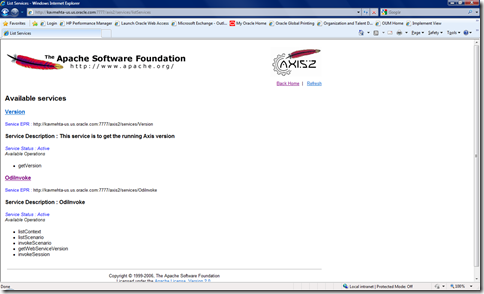
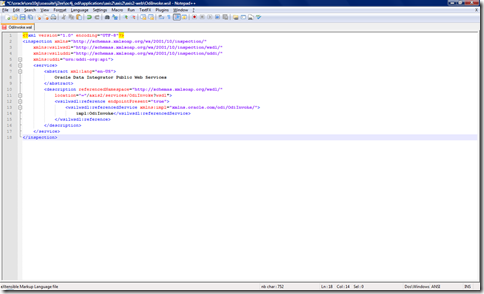
- Copy odiInvoke.wsil from <ODI_DOWNLOAD_DIR>\oracledi\tools\web_services to <OC4J_ODI>\applications\axis2\axis2\axis2-web\OdiInvoke.wsil
Change Location attribute from
location="./services/OdiInvoke?wsdl">
to
location="/axis2/services/OdiInvoke?wsdl">
Configuring JDeveloper
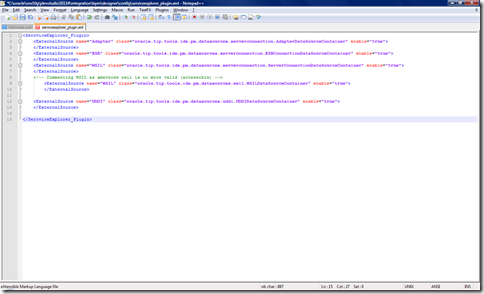
- To show local WSIL registry uncomment External Source for WSIL lcoated under <JDEV_HOME>\integration\bpm\designer\config\serviceexplorer_plugin.xml
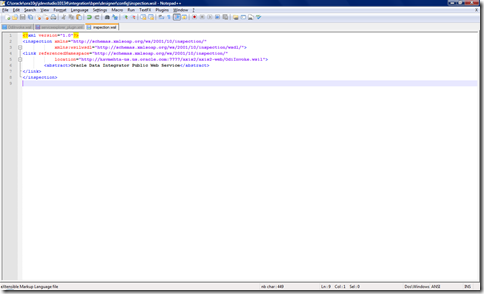
- Create inspection.wsil manually to the same directory where serviceexplorer_plugin.xml is located. <JDEV_HOME>\integration\bpm\designer\config\inspection.wsil
<?xml version="1.0"?>
<inspection xmlns="http://schemas.xmlsoap.org/ws/2001/10/inspection/"
xmlns:wsilwsdl="http://schemas.xmlsoap.org/ws/2001/10/inspection/wsdl/">
<link referencedNamespace="http://schemas.xmlsoap.org/ws/2001/10/inspection/"
location=:/axis2/axis2-web/OdiInvoke.wsil">:/axis2/axis2-web/OdiInvoke.wsil">:/axis2/axis2-web/OdiInvoke.wsil">:/axis2/axis2-web/OdiInvoke.wsil">:/axis2/axis2-web/OdiInvoke.wsil">http://<host>:<port>/axis2/axis2-web/OdiInvoke.wsil>
<abstract>Oracle Data Integrator Public Web Service</abstract>
</link>
</inspection>
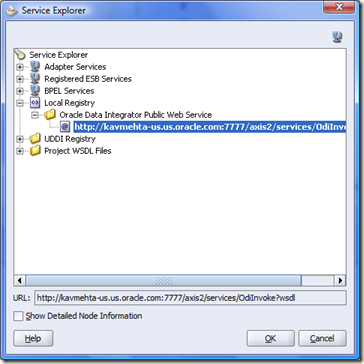
- Restart JDeveloper and you should be able to see service in “Service Explorer”. You can now use it with BPEL, AIA, OSB or any other service aware application.
 we aredone with installtion